Nym Node Families
Our documentation often refers to syntax annotated in <> brackets. We use this expression for variables that are unique to each user (like path, local moniker, versions et cetera).
Any syntax in <> brackets needs to be substituted with your correct name or version, without the <> brackets. If you are unsure, please check our table of essential parameters and variables (opens in a new tab).
This page is a how to guide showing steps to create a node family, invite nodes to a family, accept invitation, leave a family and to edit a family, where operators can change name, description or completely dissolve a family.
NymVPN protects user privacy by routing traffic through decentralised Nym nodes. This only works securely if those nodes are genuinely independent: if the Entry and Exit gateways in one route are run by the different operator and located in different network subnets. Otherwise an adversary could observe connection metadata end-to-end, or to trace users through co-located infrastructure.
To address this, Nym is adopting the concept of node families — a mechanism already used by the Tor network (opens in a new tab) — whereby operators who run multiple nodes cryptographically declare them as belonging to the same family.
The routing policy then disallows connections where Entry and Exit gateways share a family, ensuring meaningful separation between them. This significantly raises the bar for a traffic correlation attack, whether from a malicious operator silently running multiple nodes or from an adversary performing infrastructure seizure within a single jurisdiction.
On May 21st 2026, we introduced the concept logic and roadmap of Nym Node Family in a live stream (opens in a new tab).
Family Management
Nym node families are based on Nyx accounts, so a family can be created by an account without any nodes, inviting them afterwards.
Therefore, the management of Nym node families is done via Nym Wallet, alternatively nym-cli. In this how to guide we use Nym Wallet UI, in case you prefer the CLI, build it following these steps and then see the commands in this section or follow <COMMAND> --help convention.
Node families can be well previewed on SpectreDAO Explorer (opens in a new tab).
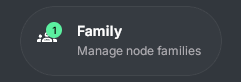
For any operation regarding node family, open your wallet and navigate to the section Family - Manage node families
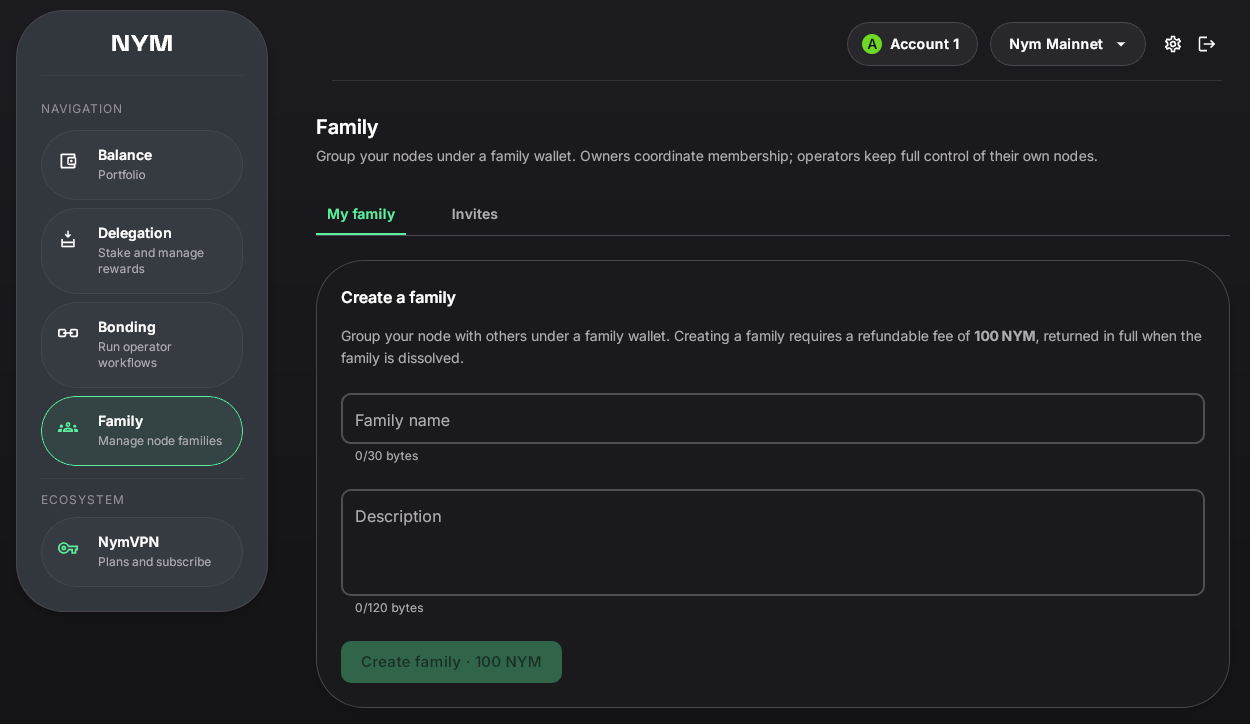
Create Node Family
To create node family, open your wallet and follow the steps below.
1. Ensure balance bigger than 101 NYM
-
Make sure you have at least 101 NYM to use 100 NYM as refundable deposit and have a bit left for the network fees
-
This refundable fee follows the same logic like bonding, using a little cost as spam prevention
2. Navigate to the section Family - Manage node families
3. Describe your family
- In the default tab My Family enter your Family Name and Description
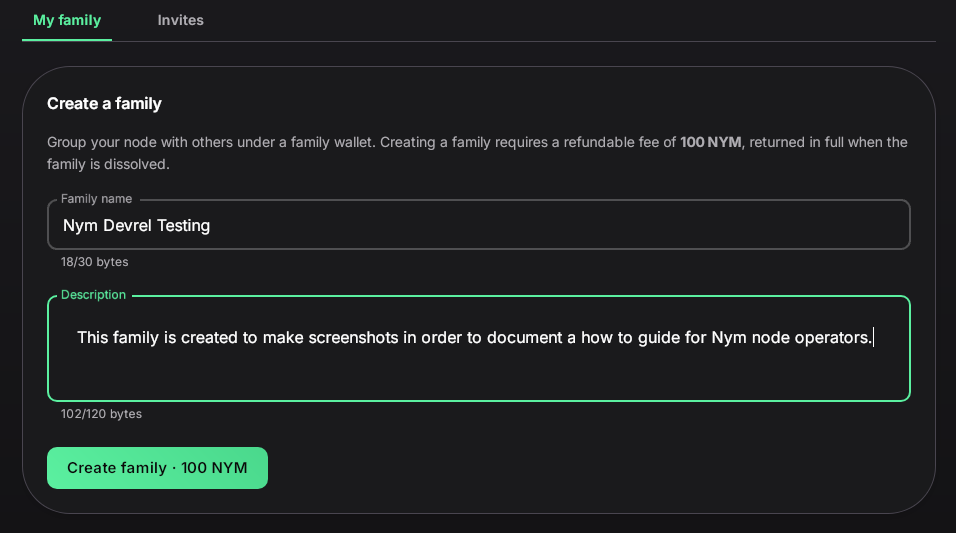
Make sure to describe your in a concise but clear way, refraning from offensive or inside joke tyoe of descriptions.
4. Confirm
- Click on Create family - 100 NYM and then confirm
Your family is now created, congratulation. You can preview it from your wallet or visit SpectreDAO Explorer (opens in a new tab).
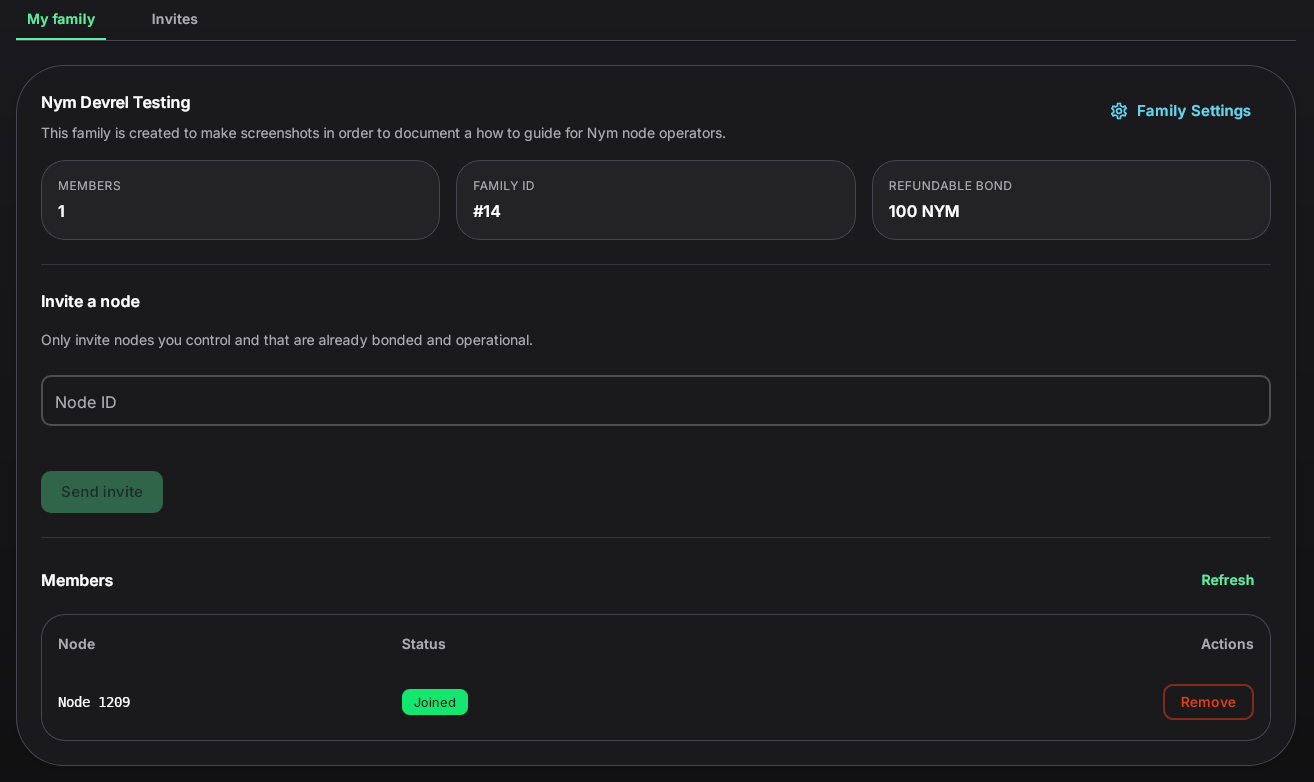
Invite New Node to a Family
To invite other nodes, open your wallet and follow the steps below.
1. Navigate to the section Family - Manage node families
2. Fill Invite a Node field
-
Add a
NODE-IDof the node you want to add to the family (the digit, not node identity key) -
Make sure that you only invite nodes you control and that are already bonded and operational

3. Send and confirm
- Click on Send invite and confirm
Your invite was sent, you can preview it in your wallet.
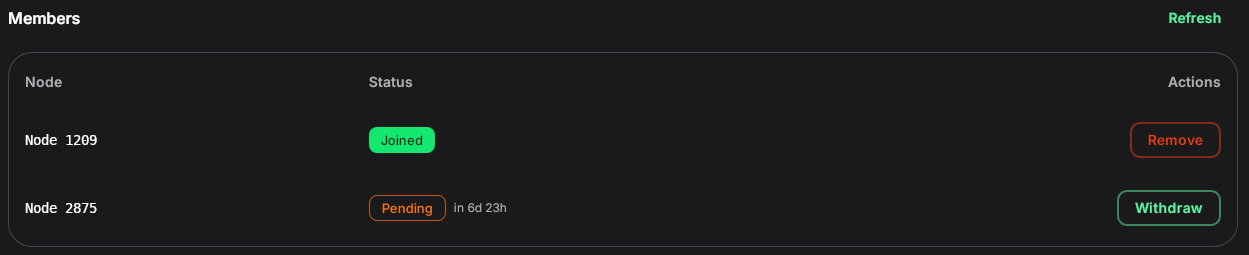
Accept invitation to a Family
To accept an invitation, open your wallet and follow the steps below.
1. Navigate to the section Family - Manage node families
- You will see a notification, click on the button
2. Navigate to the tab Invites
3. Review the family
Remember that anyone could have invited your node to their family, review carefully the invitation account authenticity.
4. Accept & confirm
- Click on Accept and on Accept invite to confirm
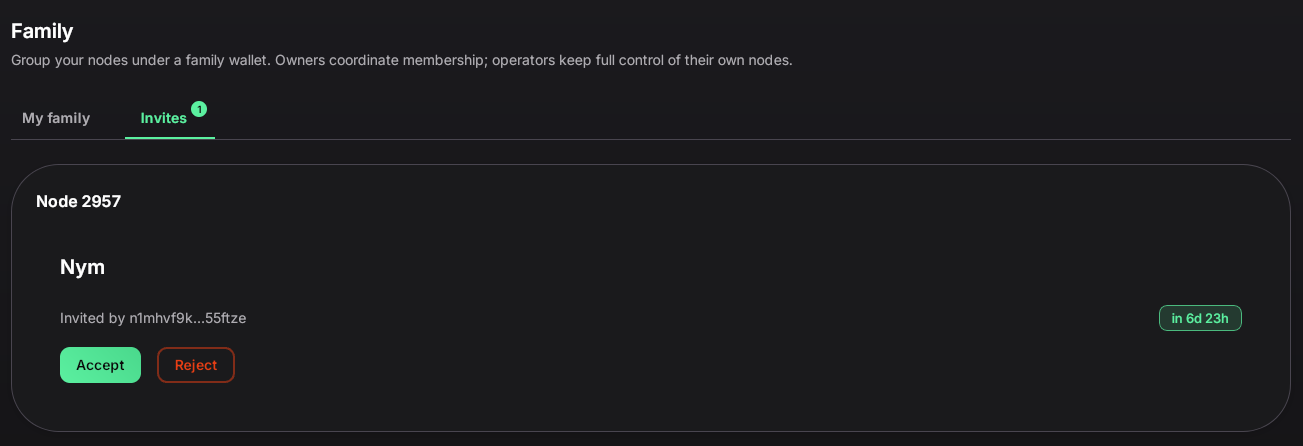
Congratulation, your node had join a family. You can preview the node status in the wallet
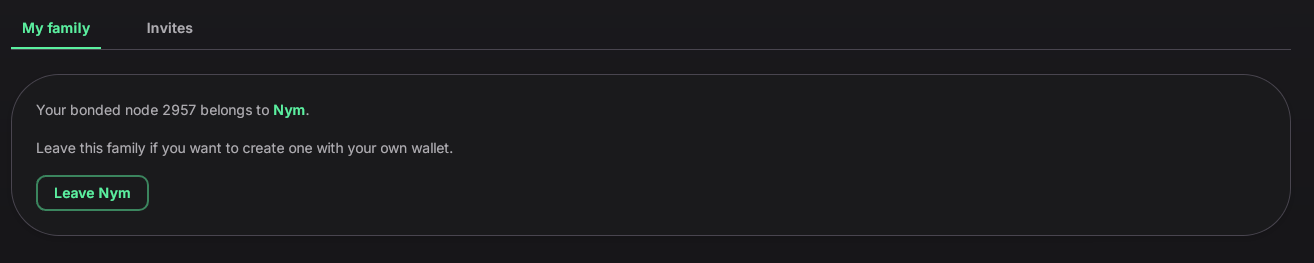
Leave a Family
In case you want to leave a family with your node, open your wallet and follow the steps below.
1. Navigate to the section Family - Manage node families
2. Navigate to My Family tab
3. Click on Leave <FAMILY_NAME> & confirm
Edit or Dissolve a Family
You can edit your family name and description as well as dissolving it entirely. Open your wallet and follow the steps below.